


-415x200w.jpg "Easy Steps: How Do You Clean and Maintain a Kitchen Tap?")
(1)-415x200w.jpg "How to Choose the Right LED Mirror for Your NZ Bathroom")
-415x200w.jpg "Can You Leave Heated Towel Rail On Overnight Safety Tips")


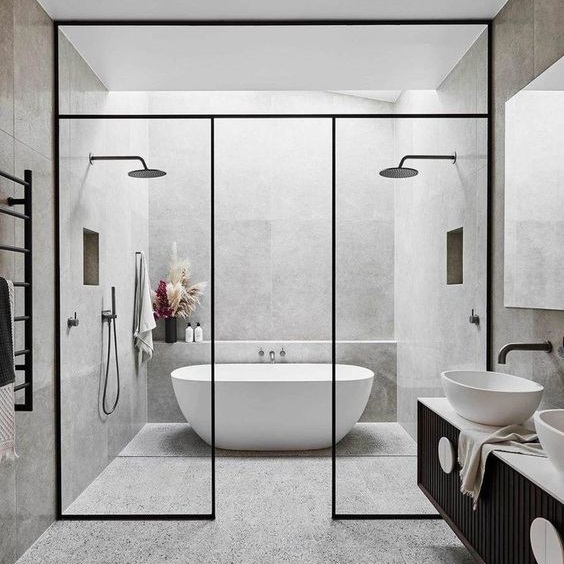
How to Replace Shower Mixer: A Step-by-Step Guide Post

How to Replace Shower Mixer: A Step-by-Step Guide
Interestingly, New Zealand maintains some of the highest water quality standards. However, a leaky or faulty shower mixer can quickly disrupt your routine.
If you encounter this issue, this guide can help you fix it yourself, saving time and empowering you with practical DIY skills.
Tools and Materials Needed
Before replacing your shower mixer, gather these essential tools and materials:
● An adjustable wrench for fittings
● A set of screwdrivers for careful adjustments
● Pliers for grip
● The new mixer that fits your existing plumbing in size and configuration
Also, have Teflon tape to seal threaded connections and protect against leaks. Wearing gloves and safety goggles offers extra protection. Keep your favorite beverage nearby and take breaks to stay refreshed while working.
Preparing Your Bathroom
Begin by clearing out any toiletries and shower accessories that could obstruct your workspace. Lay down a protective cover to prevent water damage or tool mishaps, and have towels handy for spills.
A clean work area reduces the risk of accidental breakages.
Shut off the water supply to the shower. If your home has separate valves, turn off both hot and cold water lines. Organize all your tools, materials, and the new shower mixer within reach to avoid wasting time during the process.
Safety Precautions
Before starting the replacement, ensure the power is off if using electric tools.
Water and electricity mix poorly, so be extra cautious. Wear non-slip shoes to prevent falls and protective eyewear in case of splashes.
Keep the work area well-lit to avoid reaching for the wrong tool or missing any puddles. If you feel uncertain or overwhelmed, consider asking for professional help. Taking your time is essential for a safe and efficient process.
Turning Off the Water Supply
Locate your main water supply valve, usually found where the water line enters your house (often in the garage or near the road).
Turn the valve clockwise to shut it off. If you have a lever-style valve, move it so it is perpendicular to the pipe’s direction. This step prevents sudden water flow during the repair.
Removing the Old Shower Mixer
Start by using a screwdriver to remove the cover plate (escutcheon) that holds your old mixer. Remove screws or clips carefully to avoid damaging the surrounding area.
Disconnecting the Pipes
After removing the cover plate, disconnect the pipes attached to the mixer. Using a spanner, slowly unscrew the nuts that secure the pipes.
Hold the pipes steady to avoid twisting or applying excessive force. Once the nuts are loosened, pull the pipes away from the mixer so you can remove it from its housing.
Taking Out the Mixer Unit
With the pipes disconnected, ensure you have clear access to the mixer, which might be hidden behind tiles or panels. Take photos of the setup to refer to when installing the new mixer.
Most mixers in New Zealand are fixed to the wall with bolts. Loosen these bolts by turning anticlockwise and gently wiggle the mixer free from its housing. Inspect the removed mixer for any unusual wear or build-up.
Cleaning the area with vinegar or bathroom cleaner helps prepare the space for your new installation.
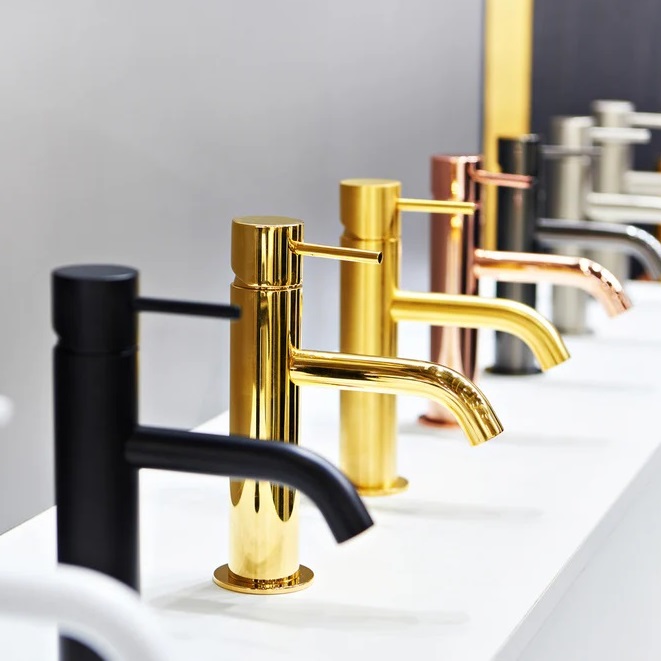
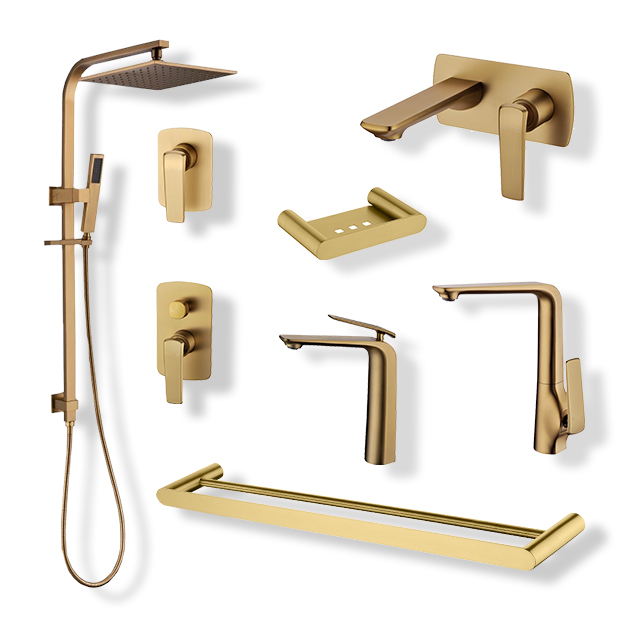
Choosing a New Shower Mixer
Select a new shower mixer that suits your bathroom design, water pressure, and eco-efficiency. Make sure the new mixer fits your existing plumbing fittings to avoid unnecessary modifications.
Types of Shower Mixers
Common types available in New Zealand include thermostatic and manual mixers. Thermostatic mixers maintain a constant water temperature even if water is used elsewhere in the house, making them ideal for busy households.
Manual mixers let you control water temperature with one lever or two knobs and are generally budget-friendly. Knowing your options helps in choosing the right one.
Features to Consider
When selecting a mixer, focus on these features:
1. Water pressure compatibility with your home's system.
2. Temperature control for steady water output.
3. Ease of installation for self-repair.
4. Material quality and finish that suit your bathroom style.
5. A reliable brand with a solid warranty for peace of mind.
A well-chosen mixer provides reliable performance and improved water efficiency.
Installing the New Shower Mixer
Insert the new mixer into the wall cavity, ensuring all connections align correctly to prevent leaks.
Wrap PTFE tape around the threads to secure a watertight seal. Once placed, tighten the fittings with a spanner and slowly turn the water supply back on to test for leaks.
Attaching Pipes to the New Mixer
To connect the pipes, first ensure they are clean. Wrap the plumber’s tape around the threads and connect by hand to avoid cross-threading.
Use a wrench to tighten the connections without excessive force. Turn the water supply on gradually and check for any leaks. Correct pipe alignment is essential for proper water flow.
Securing the Mixer Unit
Once the pipes are attached, secure the mixer to the wall. Position the unit so it fits with the wall fittings and attach the mounting bracket firmly.
Fasten the mixer with screws, checking that it is level and stable with a gentle tug before moving on.
Testing for Leaks
After installation, slowly turn the water supply on and inspect the new shower mixer for leaks.
If water escapes from any connection, tighten the fittings using a wrench, but avoid over-tightening. If leaks continue despite adjustments, the component might be faulty and require further attention.
Observe surrounding pipes and connections closely to avoid a small leak turning into a major problem. Verify the water pressure is balanced and consistent.
Making Final Adjustments
Once you have confirmed no leaks, check that the water temperature adjusts smoothly as you turn the mixer handle.
Consistent water flow is a sign that both hot and cold supplies are correctly connected. If the pressure seems off, inspect the showerhead or filter for obstructions.
Ensure that any decorative parts or faceplates are securely fastened and aligned to prevent water from seeping into unwanted areas. These last steps ensure that your new installation performs reliably and looks clean.
Cleaning Up the Work Area
After testing and final adjustments, clean up your work area.
Collect all tools, stray screws, and discarded materials for proper disposal. Wipe down the shower area to remove dust and debris from the installation process.
Vacuum or mop the floor to remove any small parts or dust. A tidy workspace not only looks neat but also prevents future issues caused by leftover materials.
When to Call a Professional
Sometimes DIY is not enough.
If you encounter a complicated plumbing system or persistent leaks, it might be necessary to involve a professional. Complex issues like mold, structural damage, or problems that affect other fixtures are better handled by an expert.
If you lack the required tools or confidence in your abilities, contacting a licensed plumber will ensure that the work complies with regulations and is performed safely. Knowing your limits can save you time and money while protecting your home.
Maintenance Tips for Shower Mixers
Regular checks help keep your shower mixer in optimal condition.
Inspect for leaks or worn washers that may indicate a need for replacement. Clean mineral deposits off the mixer using suitable cleaners if you notice white or greenish build-up.
Lubricate moving parts if necessary, and check all connections periodically. These routine practices maintain water efficiency and ensure the mixer lasts longer.
Troubleshooting Common Issues
A problematic shower mixer can be frustrating.
Inconsistent water temperature might be due to scale build-up affecting flow and mixture control. Check for squeaky or jammed handles which might signal worn internal components needing replacement.
Over time, pressure changes and mineral deposits can create such issues. Regular inspection and cleaning may prevent these problems from worsening.
Benefits of a New Shower Mixer
Updating your shower mixer combines style with improved function.
New models offer better temperature control and a refined design that upgrades your bathroom’s appearance. They are designed for efficiency, reducing water and energy wastage.
Modern mixers can include smart control features that let you set your preferred water temperature and flow, enhancing comfort and potentially increasing your home's value.
How to Replace Shower Mixer - Cost Considerations
When contemplating replacing your shower mixer in New Zealand, it's essential to ponder the financial implications.
In 2016, Statistics New Zealand, a renowned national statistical office, reported that household renovations were on the rise, driven by both aesthetic values and essential repairs.
So, it's no real shock that many Kiwis are mindful of the costs involved in such upgrades. However, spending a few extra bucks on quality materials, like those from NZhomeware, can lead to fewer headaches later on.
Considering the range of shower mixers available, prices can vary from about NZD 150 to over 600, depending on the brand, features, and material durability. DIY installation might save on labor costs, but professional installation ensures safety and longevity.
Ultimately, knowing these cost factors can help guide you in making an informed decision, ensuring your new mixer is a worthwhile investment.
Leave a Comment