


DIY Shower Valve Replacement NZ - Step-by-Step Guide & Warnings

New Zealand DIY Shower Mixing Valve Replacement Guide
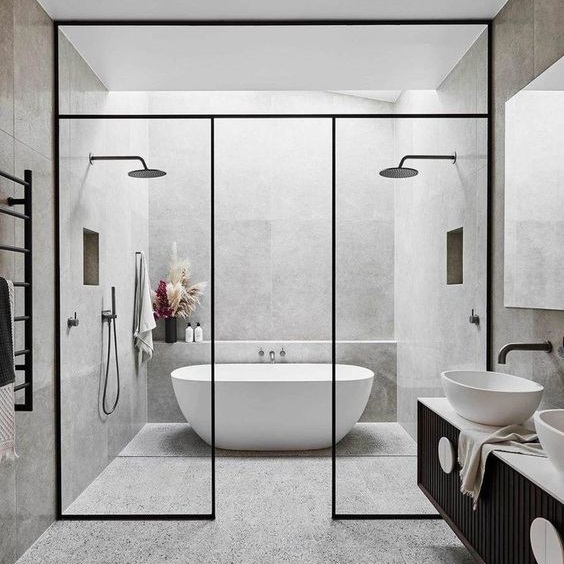
Tools and Materials Preparation - Don't Let Leakage Ruin Your Beautiful Hot Bath!
Still enduring old mixing valves with dripping water and unstable water temperature? Replacing is actually not as difficult as you think! But before you start, make sure you have these key tools ready to avoid the hassle of running to the hardware store:
Required tools (no more rummaging through the toolbox!)
- Adjustable wrench (New Zealand brand Crescent is recommended, with a non-slip design to avoid screwing nuts)
- Phillips screwdriver (screws in old houses may rust, so choose good quality ones to avoid thread slippage)
- Adjustable pliers (for stubborn water pipe joints, they are more convenient than ordinary pliers)
Sealing materials (wrong choice may cause leaks!)
- Pink PTFE tape (must choose NZ standard drinking water grade, ordinary white tape may precipitate harmful substances)
Safety protection (don't let DIY become a "work injury site")
- Non-slip gloves (when operating with wet hands, the wrench is not easy to slip out of your hand and break the tiles)
- Goggles (when removing the old valve, accumulated scale and rust may splash into your eyes)
Tips:
- Measure the size of the old valve in advance (to avoid buying the wrong one, especially old houses may use imperial threads)
- Get all the tools ready now, and you can quickly solve the leak problem in the next step!
Optimization of key steps
Shut off the water source
- Apartment users need to contact the property to shut off the main valve (some old New Zealand apartments do not have independent bathroom valves)
- The main valve of a single-family house is usually located on the outer wall of the garage/in the garden well (antifreeze cover may be installed in cold areas)
Pay special attention to the removal of the old valve
- Old houses may use imperial threads (need to confirm the specifications of the new valve)
- Stubborn scale treatment: Soak in Pams white vinegar for 1 hour (environmentally friendly and in line with New Zealand wastewater standards)
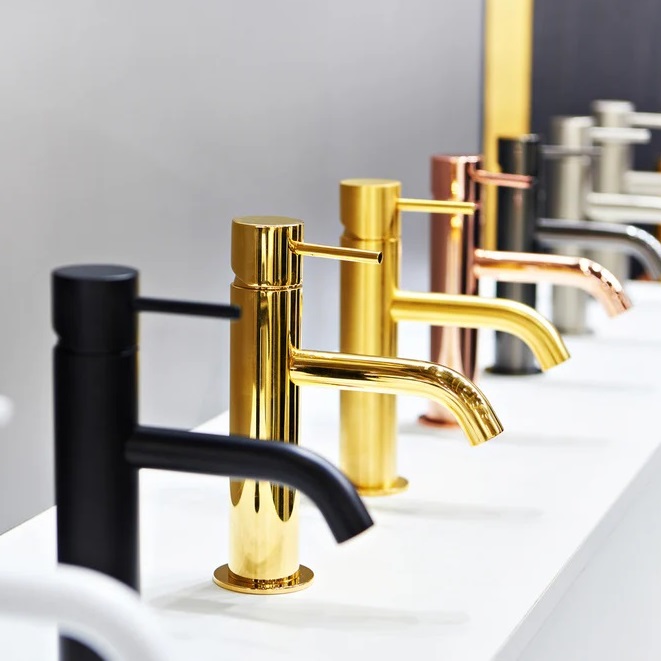
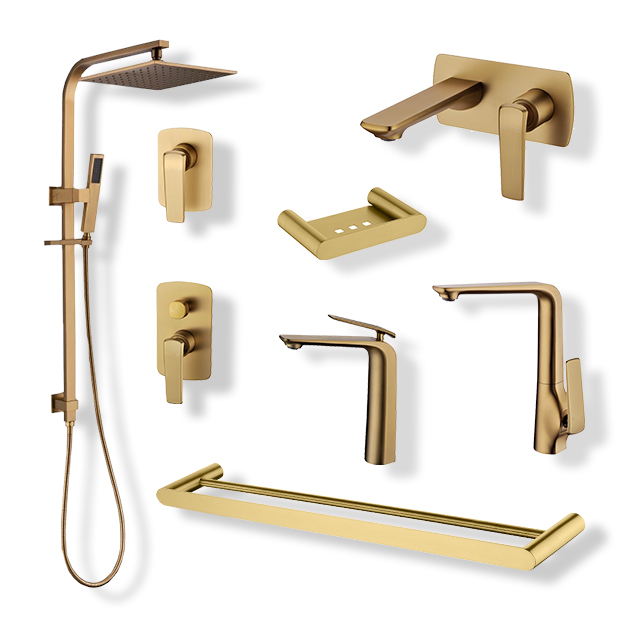
Tips for purchasing new valves
- Water pressure adaptation: The water pressure in coastal areas such as Auckland is higher, and a model of ≥500kPa must be selected
- Thermostatic valve recommendation: Suitable for families with children (legal requirements require kindergartens and other places to install)
- Environmentally friendly choice: Models with WELS 4-star or above water-saving logos can enjoy some councils subsidies
Must-check items after installation
- Water leakage test: Wipe the connection with a paper towel (more sensitive than naked eye observation)
- Water pressure test: Open other faucets at the same time to check the stability when cross-water is used
- Temperature calibration: The thermostatic valve needs to adjust the maximum temperature limit according to the instructions (New Zealand law requires that the newly installed valve should not exceed 50℃)
Special precautions
1. Earthquake risk? Don't let the mixing valve become a "leak bomb"!
Attention users in earthquake-prone areas such as Christchurch and Wellington: Ordinary installation may not be able to withstand shaking, resulting in pipe breakage, water leakage and even flooding of the bathroom!
Solution: Spend $10-$20 to buy earthquake-proof brackets and fix them with earthquake-proof pipe clamps to avoid the tragedy of $1000+ post-earthquake repairs.
2. Self-installation = loss of warranty? Be careful of manufacturers refusing to pay!
Real problem: Many New Zealand brands (such as Methven) clearly require licensed plumbers to install before enjoying warranty. Install it yourself? Leakage damages the wall? The manufacturer may directly refuse to pay!
Smart way:
- If you must DIY, record the whole process (to prove the standard operation)
- Or pay $150-$300 to find a plumber to "sign and certify" and keep the invoice (more cost-effective than claiming $2000 later)
3. Hidden traps in old houses: Asbestos/lead pipe warning!
Two fatal risks
- Asbestos walls/pipes → Drilling will release carcinogenic fibers
- Lead water pipes → Contaminate drinking water and poison nerves
Life-saving advice:
- Suspect asbestos? Stop immediately and contact NZ Demolition & Asbestos Removal for professional inspection (cost about $250)
- Ask a plumber to replace old pipes with modern materials that comply with NZS 3404
4. Leaking without knowing it? Be careful of sky-high water bills!
In areas where water is billed by volume, such as Auckland: Hidden leaks may make you pay $500+ more for water every month without noticing!
Self-checking tips:
- After installation, turn off all taps and check if the water meter is turning
- Use Leak Alert patch for real-time monitoring
Cost reference (2024)
| Item | Self-installation cost | Professional installation cost |
|---|---|---|
| Basic valve | $80-$200 | $300-$600 |
| High-end thermostatic valve | $400-$800 | $900-$1500 |
These situations must find a licensed plumber (otherwise it may be illegal or endanger safety)
When copper pipes need to be cut/welded
- New Zealand law prohibits unlicensed personnel from welding copper pipes (Gasfitting and some water supply systems)
- Incorrect operation may cause:
- ✓ Drinking water contamination (risk of lead in solder)
- ✓ Gas leaks (if gas pipelines are involved)
Old houses before 1990
- Hidden risks include:
- ✓ Asbestos-containing pipe wrapping (common in buildings from the 1970s and 1980s)
- ✓ Old galvanized pipes are easy to break (DIY disassembly may cause large-scale water leakage)
- Real case: In 2023, a Dunedin homeowner dismantled the valve himself, causing asbestos fiber leakage, and eventually spent $15,000 for professional treatment
Any changes that require Council approval
- The following operations may trigger building permit requirements:
- ✓ Change the original pipe layout
- ✓ Add a new water outlet (such as installing a second shower)
- Consequence reminder: Unapproved works may invalidate home insurance
Why do we emphasize this?
- Statistics from the Auckland City Council show that 38% of DIY water pipe accidents are caused by misjudgment of the structure of old houses
- Professional service fee $200-$500 vs accident repair fee $2000 (not including health risks)
Need Professional Help With Your Shower Valve?
If you're unsure about any step or prefer professional installation, we can connect you with licensed plumbers in your area.
Get a Free Quote Now
Leave a Comment